A Beginner’s Guide to Serverless Angular using Cloudflare Workers
This is a step-by-step guide to creating an angular application and deploying it into Cloudflare’s Serverless Application platform — also known as Cloudflare Workers.
Before we begin, if you already know what Serverless Computing and Cloudflare Workers are all about, I suggest you directly jump into ‘How to?’ section of this article.
Because I tell you, that’s where all the fun is!
TL;DR
Now, if you haven’t skipped this section yet, I’m assuming you want to scratch at least a little detail on Serverless Computing and Cloudflare Workers.
So, very quickly, first let’s answer, What is Serverless Computing?
From the perspective of a developer, Serverless computing/ architecture is a platform where-in they can launch their applications or as simple as a small function without worrying about all the infrastructure that goes in the process.
For CIOs’, serverless computing leverages efficiency and cost savings from application deployment point-of-view.
And for companies, going serverless can dramatically reduce infrastructure and operational costs as these companies don’t have to house bulky servers or pay for idle resources.
In short,
Serverless computing is a method of providing backend services on an as-used basis. A serverless provider allows users to write and deploy code without the hassle of worrying about the underlying infrastructure. ~ Cloudflare.
Secondly, let’s try to answer — What is Cloudflare Workers?
Cloudflare Workers has been on the map of Serverless computing since 2017.
It is a powerful, serverless application platform that enables developers to create and deploy their functions or applications to Cloudflare’s global network of nodes, to be executed as close as possible to the visitor.
Cloudflare workers can also be said to be a code execution environment designed on V8, the Javascript engine designed for Google Chrome.
Some other popular serverless computing services in the game are AWS Lambda, Google App Engine, Google Cloud Functions, Microsoft Azure, IBM Cloud Code Engine, et cetera.
In short, Cloudflare Workers can be called — a cloud computing platform without containers. [More on the Workers here.]
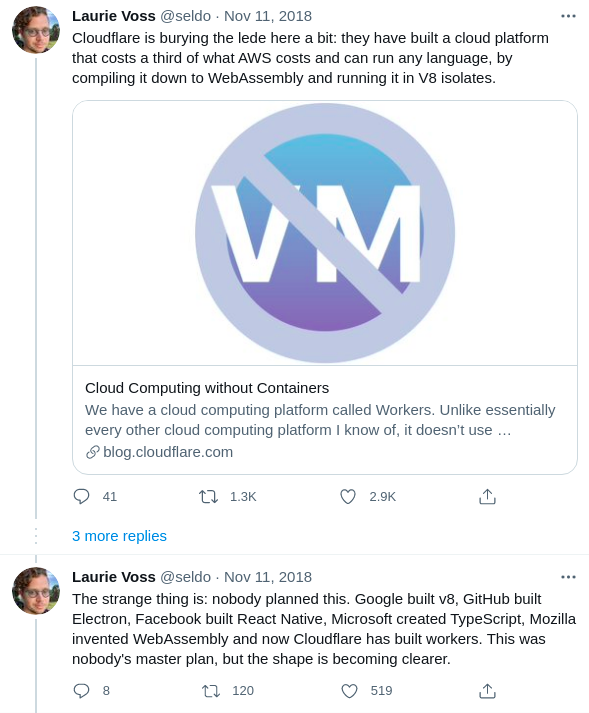
Co-founder and Chief Data Officer of NPM, Laurie Voss further quotes, “Cloudflare Workers has changed the way we build our apps. We don’t have to think about regions, we just deploy code and it runs seamlessly around the world.”
Must you want to dive deep into ‘Cloudflare Workers’ or ‘Serverless Computing’ you’re welcome here, here, and here.
How to?
This section assumes you already know what’s and why’s of serverless computing and Cloudflare Workers.
If yes, let’s get our hands dirty already.
Okay, for the simplicity of the how-to section of the article: I’ve divided the entire process into 4 different parts
Part 1:
Cloudflare Configuration on Web.
Part 2:
Install Wrangler
Part 3:
Create a Sample Angular project, and
Part 4:
Integrate Cloudflare Workers with Angular application
Part 1: Cloudflare Configuration on Web
First, go and sign up for a Cloudflare account.
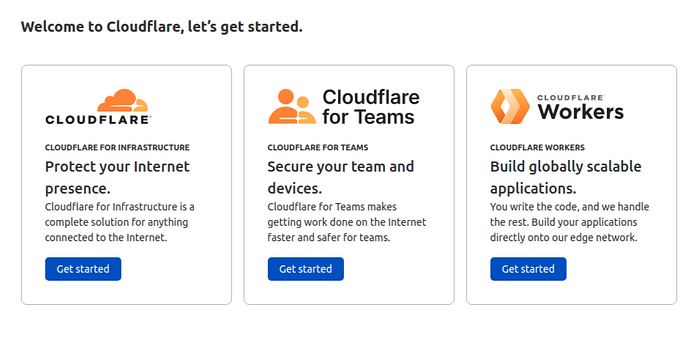
After successfully creating and then verifying the account with an email address, say bijayshrestha@gmail.com, go back to your Cloudflare Dashboard and Select ‘Get started’ from the ‘Cloudflare Workers’ section as shown below (Remember: You don’t need to ‘Add Site’! Rather, simply create a Cloudflare Workers) :
Here, you’ll be asked to create a subdomain for your Cloudflare account
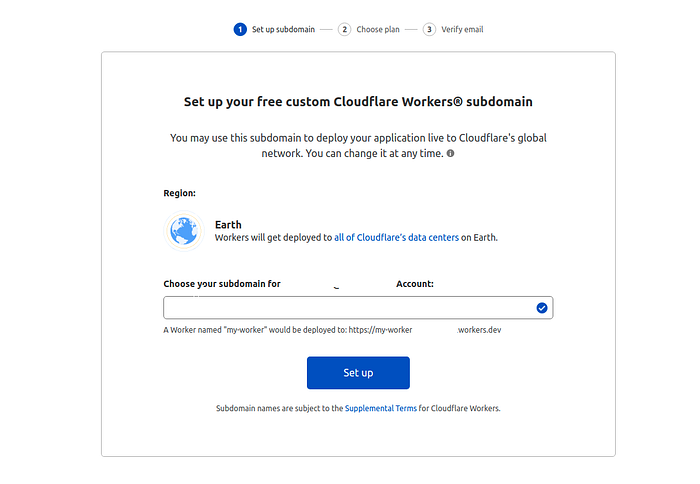
Let’s say bijayshrestha is your subdomain.
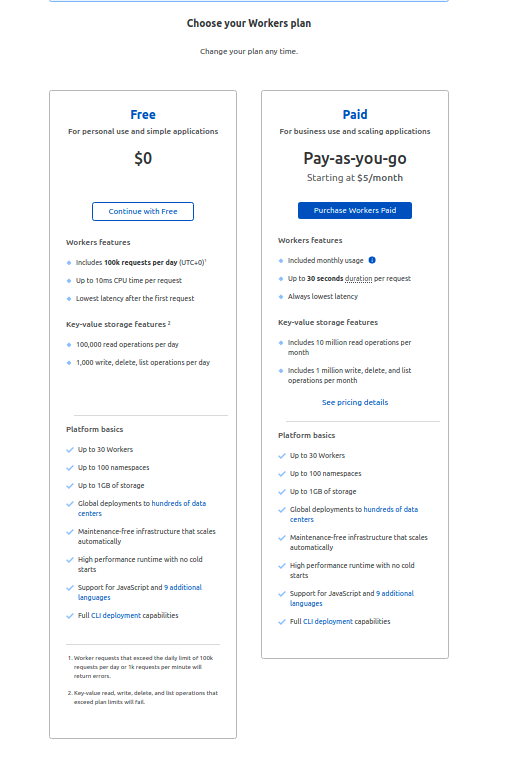
Now, choose your plan for ‘Workers’. If you’re just a newbie like I am, continue with the Free plan.
Soon, you’ll receive an email for the verification as:

After successful verification of the email, continue to the Workersmenu again:

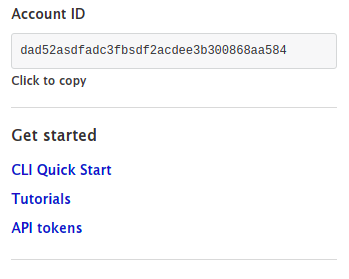
Copy theAccount ID from the right side of the Cloudflare page to one of your favorite text editors and save it as account_id(you’ll need it later).
Similarly, Go to My Profile menu which is at the top right corner of the Cloudflare page. Then, navigate to API Tokenssub-menu.

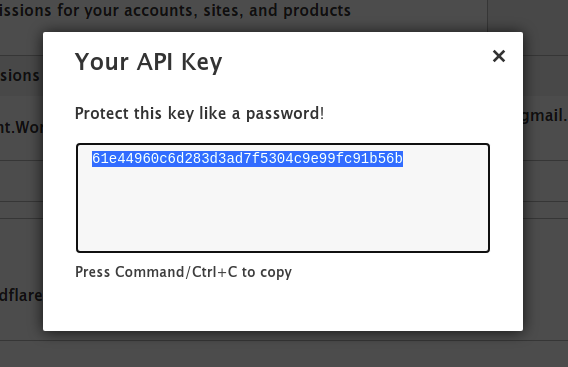
Click on the View button of Global API Keyrow. Enter your password followed by successful verification of captcha. Copy API Keyfrom the popped-up model window and paste it to the same file where you kept Account ID. Give it a nameapi_key(this will also be used later).
Part 2: Install Wrangler

One very important note: Install wrangler only after installing nvm , otherwise chances are — you’ll fall into the trap of permission-denied issue as we continue further.
And all the # used in the command that will follow — are mere helpful comments. Please ignore them as you ‘key in’ the commands.
Proceeding further: I’m assuming you’re running an Ubuntu OS on your computer.
$ sudo apt install curl
$ curl https://raw.githubusercontent.com/creationix/nvm/master/install.sh | bash$ source ~/.profile$ nvm --version
2. Install node using nvm (If node is already installed, you might want to uninstall it first and reinstall it using nvm — to save yourself from ‘permission denied’ hell)
$ nvm ls-remote # From the list, install the latest stable version of node.
# At the writing this, it is v14.17.1
$ nvm install 14.17.1
After successful installation of nvm and node , you can finally install a Wrangler:
$ npm i @cloudflare/wrangler -gPart 3: Create a Sample Angular project
Congratulations! And thank you for bearing with me. You’re already halfway through the process of navigating Cloudflare’s Serverless territory.
Now, create a sample angular application from either terminal using @angular/cli, or you can also achieve this from your WebStorm IDE:
# For terminal installation, If @angular/cli is not installed
$ npm install -g @angular/cli  # Followed by a 'ng new' command.
# Note: Project name must all be in smallcase
$ ng new my-first-project
Tips: At this point, if your terminal complains of incompatible node environment errors, you’ll need to upgrade your node version to the latest stable version by following the previously mentioned step:
#Gives you the latest version of node
$ nvm ls-remote# At the time of writing this v14.17.1 is the latest node stable version
$ nvm install 14.17.1#Gives you installed node version
$ node --version
If the application has been created, open the application (mine ismy-first-project) in the IDE of your choice and run the command:
$ ng serveAnd, if the application (mine’smy-first-project) runs just fine in the browser at http://localhost:4200, we’re good to go ahead.
This is going to be fun from here onwards!
Last Minute check before proceeding to the final part: key-in the command to verify if the project build also works okay:
# Note: This needs to be successful to proceed further!
$ ng build
Part 4: Integrate Cloudflare Workers with Angular application
Finally, let’s do the most awaitedCloudflare Workers Configuration into the angular project using wrangler CLI.
First, from the IDE terminal, set up the Global API Key:
# Creates 'default.toml' file
$ wrangler config --api-key#Cloudflare email you used in Part 1
$ Enter email: bijayshrestha@gmail.com # Global API key (api_key) you noted from Part 1
$ Enter API Key: 61e44960c6d283d3ad7f5304c9e99fc91b56b
Followed by the initialization of Wangler into your application:
#Creates Worker site and 'wrangler.toml' in your project directory
$ wrangler init --site
Cool! We’re almost towards the end of the configuration step.
After initializing, editwrangler.toml .
You can either use vi,nanoor any editors likenotepad, notepadd++, et cetera.
For this tutorial, I’ll use nano.
In wrangler.toml,you’ll be adding the Account ID (account_id)which you must have again noted in Part 1of this blog post; Also set up the bucketparameter of the samewrangler.toml as ./dist/<your-angular-application-name>:
# Updating wrangler.toml using nano
$ nano wrangler.toml
Your updated file must look something like this:
name = "my-first-project"
type = 'webpack'
account_id = 'dad52asdfadc3fbsdf2acdee3b300868aa584'
route = ''
zone_id = ''
usage_model = ''
workers_dev = true
target_type = "webpack"
site = {bucket = "./dist/my-first-project",
entry-point = "workers-site"}
Note: To see if your changes have been saved, you can run:
$ cat wrangler.tomlNow, finally, finally, … to publish your beautiful angular application in a Serverless platform of Cloudflare (i.e., Workers), simply do:
$ wrangler publishTo check out if your application has been successfully deployed: please click the link, which will appear at the end of the successful log trace left by wrangler publish command.
For example: https://my-first-project.bijayshrestha.workers.dev
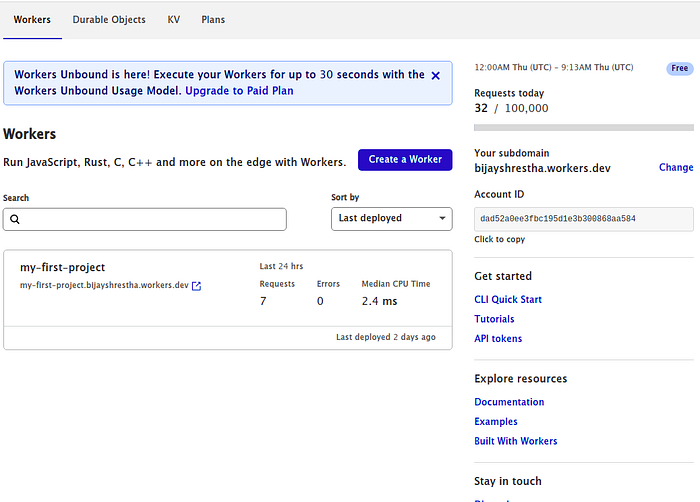
p.s. To verify your newly created Worker, go to the ‘Workers’ page of your Cloudflare account. There you’ll see your project (as seen on the picture below) on the list of Workers:
p.p.s If you want to update the content of the angular application and see the changes reflected back on your corresponding worker deployment. You’ll have to again build the application using:
$ ng buildfollowed by:
$ wrangler publishAnd, that’s about it. This way, your changes will be reflected.
Thank You & Namaste!


